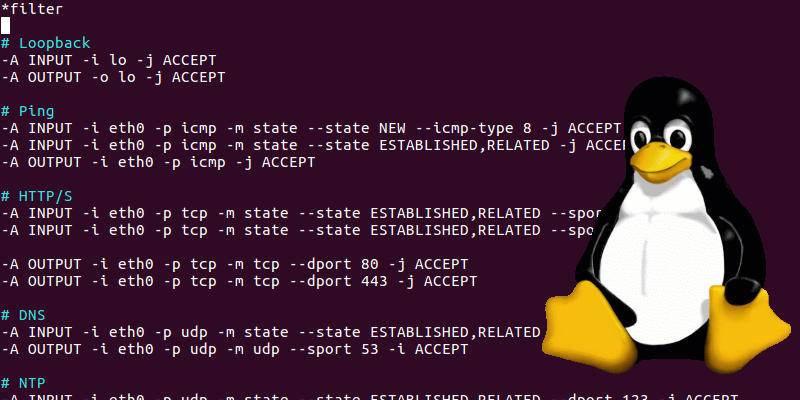
I wrote a guide a few years ago on setting up your IPTables and Firewall for Raspberry Pi. You should always secure your devices even if you think they will only ever be on your local network. You never know when a threat may be inside your network and you don’t want to give them any more room to work than they already have at that point.
To simplify the process I have written a script that will automate most of these steps you can find it at: https://github.com/PiProjectsUS/PiProject-IPTable.
Since we don’t want to set our rules every time we restart our Raspberry Pi we will install persistence for our IPTables. We can do that with the following command.
sudo apt-get update && sudo apt install iptables-persistent -yWe will start off by setting some basic IPTable rules:
sudo iptables -F
sudo iptables -A INPUT -p tcp --tcp-flags ALL NONE -j DROP
sudo iptables -A INPUT -p tcp ! --syn -m state --state NEW -j DROP
sudo iptables -A INPUT -p tcp --tcp-flags ALL ALL -j DROP
sudo iptables -A INPUT -i lo -j ACCEPT
We will now cover a few of the most common ports and the command to unblock them.
SSH
sudo iptables -A INPUT -p tcp -m tcp --dport 22 -j ACCEPT

HTTP
sudo iptables -A INPUT -p tcp -m tcp --dport 80 -j ACCEPT
HTTPSsudo iptables -A INPUT -p tcp -m tcp --dport 443 -j ACCEPT
SMTPsudo iptables -A INPUT -p tcp -m tcp –dport 25 -j ACCEPT
sudo iptables -A INPUT -p tcp -m tcp –dport 465 -j ACCEPT
POP3
sudo iptables -A INPUT -p tcp -m tcp --dport 110 -j ACCEPT
sudo iptables -A INPUT -p tcp -m tcp --dport 995 -j ACCEPT

IMAP
sudo iptables -A INPUT -p tcp -m tcp --dport 143 -j ACCEPT
sudo iptables -A INPUT -p tcp -m tcp --dport 993 -j ACCEPT
Home Assistantsudo iptables -A INPUT -p tcp -m tcp --dport 8123 -j ACCEPTThese are just a few of the services you may end up using. If you need to add more we can use the following format to add custom ports.
Replace [TYPE] with tcp or udp.
Replace [PORT] with the port number.
sudo iptables -A INPUT -p [TYPE] -m [TYPE] --dport [PORT] -j ACCEPTWe are going to need to allow outbound connections, you can choose to only allow specific ports to communicate out but in this case, we will allow all outbound connections with the following:
sudo iptables -I INPUT -m state --state ESTABLISHED,RELATED -j ACCEPT
sudo iptables -P OUTPUT ACCEPT && sudo iptables -P INPUT DROP

To view all the rules we have added so far you can simply run:
sudo iptables -L -nUnless we want to have to set up our iptables every time our Raspberry Pi is restarted we need to do a few more simple steps. Let us save our rules to a file.
sudo iptables-save >/etc/iptables/rules.v4
sudo ip6tables-save >/etc/iptables/rules.v6
We need to have a way to load our rules once the Pi starts. We can do this using the rc.local file. We need to add 1 line to this file that will make it auto-run on every start.
sudo nano /etc/rc.local
Right before the exit 0 line add:
/etc/iptables/rules.v4
You have now set up your IPTables to help protect your Raspberry Pi.
