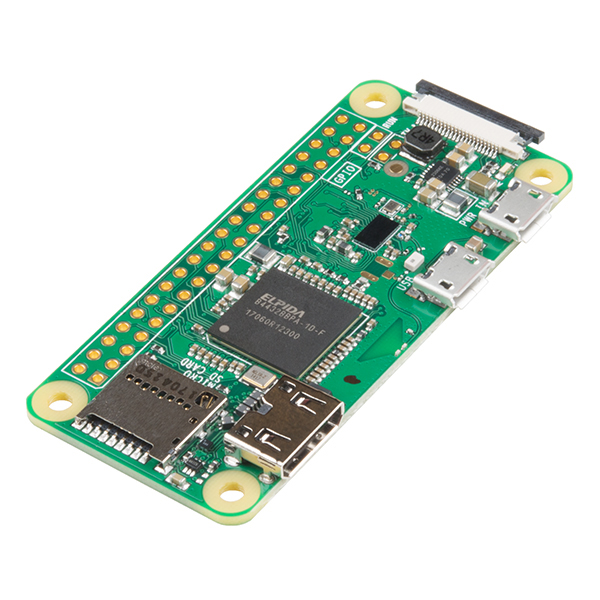
Today we will be setting up a new Raspberry Pi with the Raspbian operating system using the Noobs installer. Noobs makes it incredibly easy to install Raspbian (or Raspbian Light in my case). Let’s start by downloading a copy of Noobs Light from the Raspberry Pi website.
What operating system should I use?
With Noobs you get a selection of operating systems to choose from, Raspbian, Raspbian Light, and a slew of others. The reason I only mention two of them is because these two are the ones we will be looking at here. Which you will use is up to you, I will quickly go over the differences here.
Raspbian
This version is larger and includes a full Desktop GUI I recommend using at least a 16 GB SD card.If you are newer to Linux this is your best option. You can still use any terminal commands you would like, connect via SSH, connect via VNC, or use the desktop GUI. It did run pretty slow the one time I used it on a Pi 0 W so I would recommend one of the higher end Pi’s. You can always disable the GUI later if you want too.

Raspbian Light
This is your typical command line Linux environment. There is no simple to use GUI everything is done through the command line. This is the option I usually go with, as I don’t need a interface after installing everything I wont be using a screen or anything most of the time. All I need is to enable SSH after setup and good to go.
So we should have Noobs downloaded, format your SD card and copy over all the files from the Noobs archive onto the root of your flash drive. After it is done copying properly eject the SD card and insert it into your Raspberry Pi. Plug in your HDMI cable, keyboard, and power cord a mouse is not really need at this point.

Your will see something similar to the above list of operating systems if you do not have a Ethernet connection press the W key and connect to your Wi-Fi network so your will have the full list of choices. Select the operating system you want to use we covered two of them above.

It will take a few minutes to download and install Raspbian (Full or Light).
Setting up Raspbian
The default login is pi/raspberry. If you are using the GUI, open a terminal to follow along. First thing I always do is update installed packages. I don’t want to put a un-updated box online for people to find. Execute the following in a terminal:
sudo apt update && sudo apt dist-upgrade -yThis will take a few minutes to process and update all the packages (more time if your using Full). Once the update and upgrades are complete we can enable SSH.
sudo raspi-config

While we are inside raspi-config we should set the Localisation Options: timezone and wifi country. Then we need to select Interface Options, enable SSH and VNC if you are using the GUI and want it. Before un-hooking your keyboard and monitor you may want to take note of your IP address using the following:
ifconfigOptional sets to setting up your Raspberry Pi
Creating a new user and removing the default
Well the easiest way to begin any brute force attack is knowing a username on the system or you will be required to brute force the username too. Replace USER_NAME with what you would like the username of the system to be.
sudo adduser USER_NAME && sudo adduser USER_NAME sudoThis will add our new user, and then give that user permission to use sudo. Reboot your pi, login with your new username. We want to test sudo is working properly before running this next part and removing our default user.
sudo deluser pi
sudo deluser -remove-home pi
Setup ZRam
ZRam is a way to use a small part of your disk space as RAM I find it makes things run a little smoother. It is a pretty simple install process run the following commands:
sudo wget -O /usr/bin/zram.sh https://raw.githubusercontent.com/novaspirit/rpi_zram/master/zram.sh
sudo chmod +x /usr/bin/zram.sh
sudo nano /etc/rc.local
This will download the zram.sh file, set it t be executable and open our rc.local file for editing with nano. Right before the exit 0 line add:
/usr/bin/zram.sh &Restart your Pi and all done!
In closing
We now have a fully functional headless raspberry pi. No need for monitors or keyboard we can do everything over SSH.