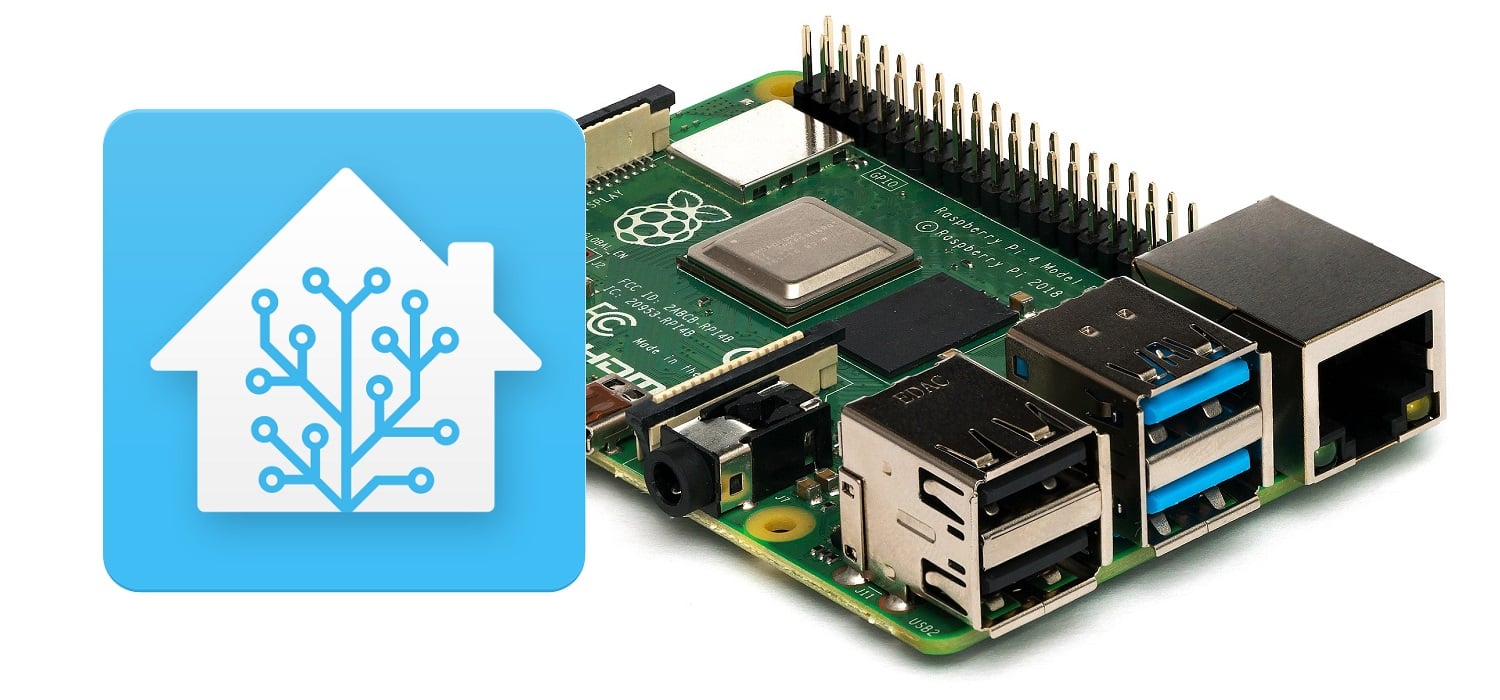
Today we are going to automate my house using Home Assistant. There are lots of options for home automation out there but I like being in control of all my data and devices. Home Assistant has over 1,900 official integrations and even more unofficial integrations. You can view the official demo here. In this article, we are going to cover installing Home Assistant on our Raspberry Pi 4. Let’s make a quick list of what we will need:
- 1 Micro SD Card (32 gig min, 64 gig+ reccomended)
- Raspberry Pi 4
- Raspberry Pi Power Supply
- An Ethernet Cable
- A Windows Computer (guide will be using windows tools this can be done on other operating systems though)
Terms We May Use
- HA – Home Assistant
- RPI – Raspberry Pi
Downloading Home Assistant
You are going to need a piece of software to write to your SD card. There are a few options out there my personal favorite to use is Raspberry Pi Imager but you can also use something like Balena Etcher. Grab a copy of the latest Raspberry Pi Imager over at the Raspberry Pi OS website.

Next, we are going to need to download a copy of the Home Assistant operating system. There are several options I would recommend the 64-bit version.
- Raspberry Pi 4 64-bit
https://github.com/home-assistant/operating-system/releases/download/9.0/haos_rpi4-64-9.0.img.xz - Raspberry Pi 4 32-bit
https://github.com/home-assistant/operating-system/releases/download/9.0/haos_rpi4-9.0.img.xz - Raspberry Pi 3 64-bit
https://github.com/home-assistant/operating-system/releases/download/9.0/haos_rpi3-64-9.0.img.xz - Raspberry Pi 3 32-bit
https://github.com/home-assistant/operating-system/releases/download/9.0/haos_rpi3-9.0.img.xz
Once the download is complete head on over to Raspberry Pi Imager.
- After the download is complete extract the image file from the compressed archive.
- Click “Choose OS”, scroll all the way to the bottom, and select “Use custom”.
- A file select dialog will appear, select the image you extracted in the first step.
- Click “Choose Storage”, and make sure you select the correct drive as all data will be erased.
- Finally, click the “Write” button. The process will take a few minutes to write and verify the data.
Powering Up Your Home Assistant Raspberry Pi
Insert the SD card you created into your Raspberry Pi, and plug in the ethernet cable and the power cord. Your Home Assistant installation will take a few minutes to complete its initial setup after being plugged in. Depending on your network configuration there are several options where Home Assistant may be available once it’s ready.
- Usually, you can access your instillation at: http://homeassistant.local:8123/
- Some networks may have more strenuous configurations where this address is not available in that case you can try: http://homeassistant:8123/
- If all else fails you will need to find the IP of your Raspberry Pi in your router’s list of connected clients and you will be able to use http://YOUR_HA_IP:8123/
First Time Accessing Home Assistant
You will be prompted with a screen to create a user account, it should look something like this

Enter your name, a username you won’t forget, and a secure password once you have completed this click the “Create Account” button at the bottom of the form. It is very important to make sure you use a secure password if you are going to expose your installation to the outside world so you can automate your house from anywhere.
Next, you will come across a simple-looking map, something like this:

Enter a name such as “Home” or “Office” that fits your installation. In my case clicking “Detect” will not work. My connection is using a VPN so it will not display the real location I had to manually find my house by scrolling around the map. Select your proper time zone and measurement system. Click the “Next” button we are almost done with the setup. Now we are onto the final setup screen:

Your list may have more or fewer devices than the one above, this is not an issue. Set up any devices you want to control or monitor from the list and click “Finish”. We can continue adding devices later as they are found.
Setup Complete!
Now that your setup is complete you can start tweaking your HA server to your liking. I plan on writing more articles later on Home Assistant on Raspberry Pi.
